亲爱的读者,你是否曾被一张张令人垂涎欲滴的美食图片所吸引?在这个信息爆炸的时代,美食图片不仅仅是味蕾的预告,更是一场视觉的盛宴,让我们一起深入探索美食图片大全的世界,感受那些大图中隐藏的美味秘密。
美食图片的魅力:视觉与味觉的双重享受
想象一下,当你在社交媒体上浏览时,一张色泽鲜艳、摆盘精致的美食图片突然映入眼帘,它不仅刺激了你的视觉神经,更激发了你对食物的渴望,这就是美食图片的魅力所在——它能够跨越感官的界限,让你在看到图片的那一刻,仿佛已经尝到了食物的味道。
例子: 一张烤得金黄的披萨图片,上面撒满了新鲜的番茄和融化的奶酪,你几乎能感觉到那浓郁的奶酪在口中拉丝的质感,以及番茄的酸甜与披萨底的香脆在舌尖上交织的美妙。
美食图片的构成:色彩、光线与构图的艺术
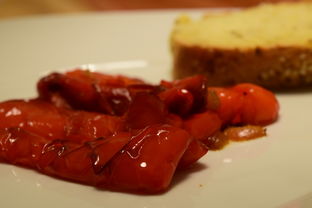
美食图片不仅仅是食物的简单记录,它们是摄影师通过色彩、光线和构图的艺术创作,每一道光线的运用,每一种色彩的搭配,每一个角度的选择,都是为了更好地展现食物的诱人之处。

例子: 考虑一张拍摄于黄昏时分的海鲜大餐图片,夕阳的余晖洒在新鲜的生蚝和龙虾上,金色的光线与海鲜的自然色彩相得益彰,让人仿佛能感受到海洋的清新与食物的鲜活。
美食图片的情感传递:故事与记忆的载体
美食图片不仅仅是静态的图像,它们还能够传递情感和故事,每一张图片背后,都可能隐藏着一段难忘的经历或是一个温馨的回忆。
例子: 一张家庭聚餐的图片,桌上摆满了各式各样的家常菜,家人围坐在一起,脸上洋溢着幸福的笑容,这样的图片不仅展示了美食,更传递了家的温暖和团聚的快乐。
美食图片的实用价值:食谱与烹饪灵感
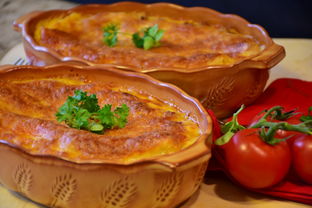
对于烹饪爱好者来说,美食图片大全不仅是欣赏的对象,更是学习和灵感的来源,通过观察专业厨师的作品,我们可以学习到新的烹饪技巧和摆盘艺术。
例子: 假设你是一位烘焙爱好者,一张精美的蛋糕装饰图片可能会激发你尝试新的装饰技巧,比如如何用糖霜制作出精致的花纹,或者如何将水果巧妙地融入蛋糕设计中。
如何挑选和使用美食图片大全
在众多的美食图片中,如何挑选出最适合自己的图片呢?以下是一些实用的建议:
- 明确目的: 确定你使用图片的目的,是为了激发食欲、传递情感还是提供烹饪灵感。
- 注意版权: 确保你使用的图片是合法授权的,尊重摄影师的劳动成果。
- 考虑质量: 选择高分辨率、清晰度高的图片,以确保最佳的视觉效果。
- 个性化选择: 根据你的个人喜好和需求,挑选那些能够触动你心弦的图片。
美食图片大全,不仅仅是图片
美食图片大全不仅仅是一系列静态的图片,它们是美食文化的一部分,是情感和记忆的载体,也是烹饪艺术的展示,通过欣赏和学习这些图片,我们不仅能够提升自己的审美和烹饪技巧,还能够更深入地理解和欣赏美食的魅力。
亲爱的读者,希望你在阅读这篇文章后,能够对美食图片大全有更深的理解和欣赏,下次当你在浏览美食图片时,不妨慢下脚步,细细品味那些隐藏在图片中的美味故事和艺术创作,让我们一起享受这场视觉与味觉的双重盛宴吧!